

Have you ever struggled to see what’s behind your car while parking or reversing? A wireless backup camera can be the solution you need to boost your safety and confidence on the road.
Installing one yourself might sound tricky, but with the right steps, you can do it easily and save money. In this guide, you’ll discover simple instructions that will help you set up your wireless backup camera quickly and effectively. Keep reading, and by the end, you’ll have a clearer view every time you back up your car.
Gather Tools And Materials
Before you dive into installing a wireless backup camera in your car, gathering the right tools and materials is essential. This prep stage can save you hours of frustration and help ensure a smooth installation. Knowing exactly what to pick up and check will make the process more straightforward and less stressful.
Choose The Right Camera
Not all wireless backup cameras are created equal. Think about the camera’s resolution, field of view, and night vision capabilities. A camera with at least 720p resolution and a wide-angle lens will give you clearer, broader visibility.
Consider whether you want a camera that mounts on the license plate or one that fits inside the rear bumper. Some models offer additional features like waterproofing and wireless range, which can be crucial depending on your vehicle and parking habits.
Prepare Installation Tools
Having the right tools ready can make the installation process much easier. Common tools you’ll need include:
- Phillips and flathead screwdrivers
- Wire strippers and cutters
- Electrical tape or wire connectors
- Drill with bits (if mounting requires drilling)
- Multimeter (to check electrical connections)
- Plastic trim removal tools (to avoid damaging your car’s interior)
Gathering these tools beforehand will help you avoid last-minute trips to the hardware store. Have you checked your toolbox lately?
Check Vehicle Compatibility
Not every wireless backup camera fits every vehicle. Check if your car’s make and model support the camera system you want to install. Some vehicles have specific wiring or mounting challenges that require adapters or special brackets.
Look for compatibility with your car’s display system, if you plan to connect the camera directly to an in-dash monitor. Also, consider your car’s power supply options to ensure the camera can be connected without complex wiring.
Have you researched your vehicle’s manual or online forums to understand what others have experienced with similar installations?

Credit: www.youtube.com
Install The Camera
Installing the wireless backup camera in your car is an exciting step toward improving your driving safety. The camera needs to be positioned correctly and powered properly to work efficiently. Let’s focus on how to install the camera itself so you get a clear view every time you reverse.
Locate Mounting Position
Choosing the right spot for your backup camera is crucial. Most people prefer mounting it near the license plate because it offers a wide and clear rear view. Check the area for a flat surface free from obstructions like lights or handles.
Think about how the camera lens will capture the view behind your car. If it’s too high, you might miss obstacles close to the ground. Too low, and it could get dirty easily or be damaged.
Mount The Camera Securely
Once you find the ideal spot, secure the camera firmly. Use the mounting bracket or screws provided with your camera kit. Make sure it doesn’t wiggle or move when you touch it.
A shaky camera can blur your image, making it hard to see what’s behind you. If you’re mounting on a metal surface, double-check the screws are tight to avoid vibrations while driving.
Connect Power Supply
Your camera needs power to function, so connect it to your car’s reverse light circuit. This way, the camera turns on automatically when you shift into reverse. Locate the wires behind your car’s tail light assembly to find the positive and negative wires.
Use wire connectors or electrical tape to secure the connections. Avoid loose wires that can disconnect or cause shorts. After connecting, test the camera by shifting into reverse and checking the display inside your car.
Set Up And Test
Setting up and testing your wireless backup camera is crucial for safety and proper function. This process ensures your camera and monitor communicate well. It also lets you see clear images while reversing.
Pair Camera With Monitor
Turn on both the camera and the monitor. Check the user manual for pairing instructions. Usually, you press a button on the camera and the monitor. Wait a few seconds for the devices to connect. Confirm the monitor shows the camera’s view. If not, repeat the pairing process carefully.
Adjust Camera Angle
Adjust the camera to cover the area behind your car. Make small movements and check the monitor each time. Aim for a view that shows obstacles and the ground close to the bumper. Avoid pointing the camera too high or too low. Secure the camera once you find the right angle.
Test Functionality
Test the camera by shifting your car into reverse. The monitor should automatically display the camera’s feed. Check the image clarity and the response time. Confirm the camera works in low light and bright conditions. Test different parking spots to ensure full coverage.
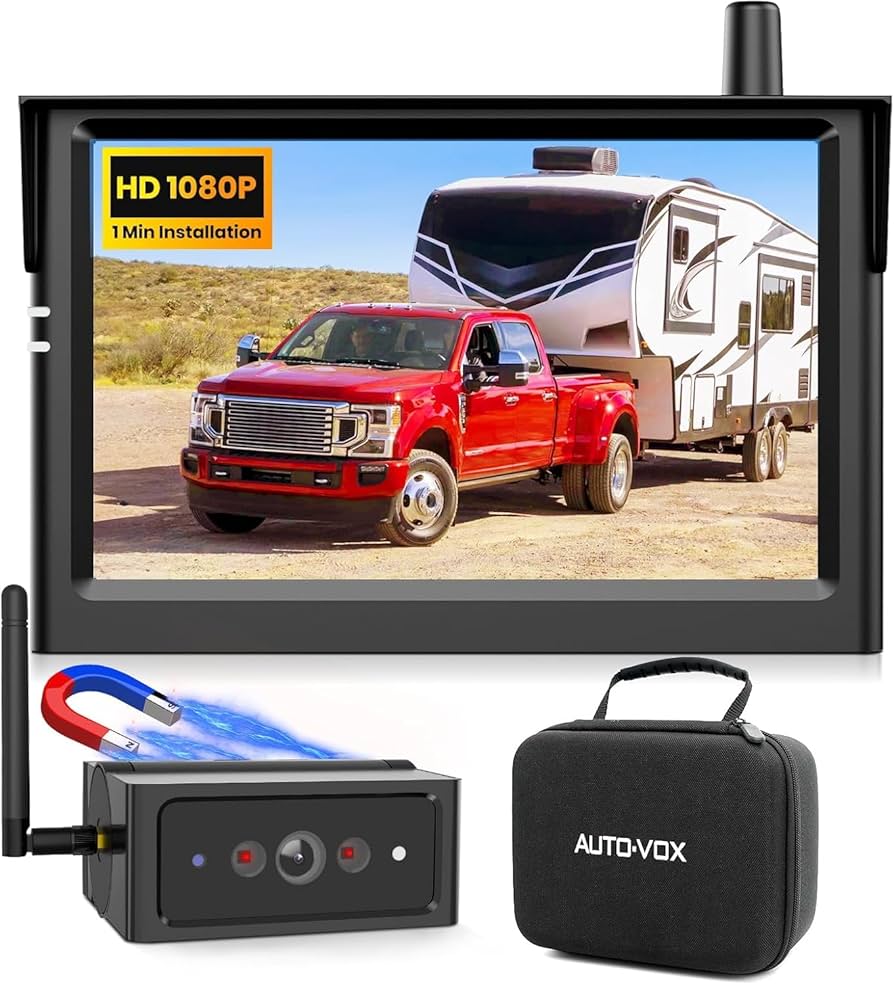
Credit: www.amazon.ca
Credit: luview.com
Frequently Asked Questions
How Do I Install A Wireless Backup Camera In My Car?
First, mount the camera on your license plate or rear bumper. Connect the power wires to the reverse light. Sync the camera with the monitor inside the car. Follow specific instructions from your camera’s manual for best results.
What Tools Are Needed For Wireless Backup Camera Installation?
You will need a screwdriver, wire stripper, electrical tape, and a power drill. A multimeter can help check connections. Some kits include all necessary tools. Always refer to your installation guide for exact requirements.
How Long Does It Take To Install A Wireless Backup Camera?
Installation usually takes between 30 minutes to 2 hours. Time varies depending on your vehicle and experience level. Reading instructions beforehand can speed up the process. Professional help is recommended for complex installations.
Can I Install A Wireless Backup Camera Without Professional Help?
Yes, many wireless cameras are designed for DIY installation. Clear instructions and plug-and-play components make it easier. However, some vehicles may require advanced wiring skills. If unsure, consult a professional to avoid damage.
Conclusion
Installing a wireless backup camera in your car improves safety and convenience. The process is simple if you follow clear steps. You can see behind your vehicle easily while parking or reversing. No need for complicated wires or tools. Take your time and double-check connections.
Soon, you’ll drive with more confidence and peace of mind. Enjoy the clearer view and added protection every time you back up. A small upgrade that makes a big difference.


