

Are you tired of struggling to see what’s behind your car when reversing? Installing a wireless backup camera can make parking safer and easier for you.
Imagine having a clear view of blind spots right on your dashboard, reducing the risk of accidents and giving you peace of mind every time you drive. In this guide, you’ll discover simple, step-by-step instructions to install your own wireless backup camera quickly and without hassle.
Ready to upgrade your car’s safety and convenience? Keep reading, and you’ll be done before you know it.
Choosing The Right Wireless Backup Camera
Choosing the right wireless backup camera is crucial for safety and ease of use. The perfect camera improves your view behind the car. It also fits well with your vehicle and driving style. Consider several factors before buying to ensure satisfaction.
Types Of Wireless Backup Cameras
Wireless backup cameras come in different types. Each offers unique benefits. The main types include:
- Mirror-Mounted Cameras:Attach to your rearview mirror. Show video on the mirror screen.
- License Plate Cameras:Mount near the license plate. Provide a clear rear view.
- Flush-Mounted Cameras:Built into the bumper or body. Offer a clean, discreet look.
Choose a type that fits your car design and personal preference.
Key Features To Consider
Focus on important features for safety and convenience:
- Video Quality:Look for high resolution for a clear image.
- Night Vision:Allows you to see clearly in the dark.
- Wide-Angle Lens:Covers a larger area behind your car.
- Wireless Range:Ensure it works well with your car’s size.
- Waterproof Design:Protects the camera from weather damage.
Compatibility With Your Vehicle
Check if the camera fits your car model and system. Some cameras connect to existing displays. Others need a new monitor or a smartphone app.
Consider power source options. Some cameras use the car battery, others have rechargeable batteries. Verify the installation process matches your skills.
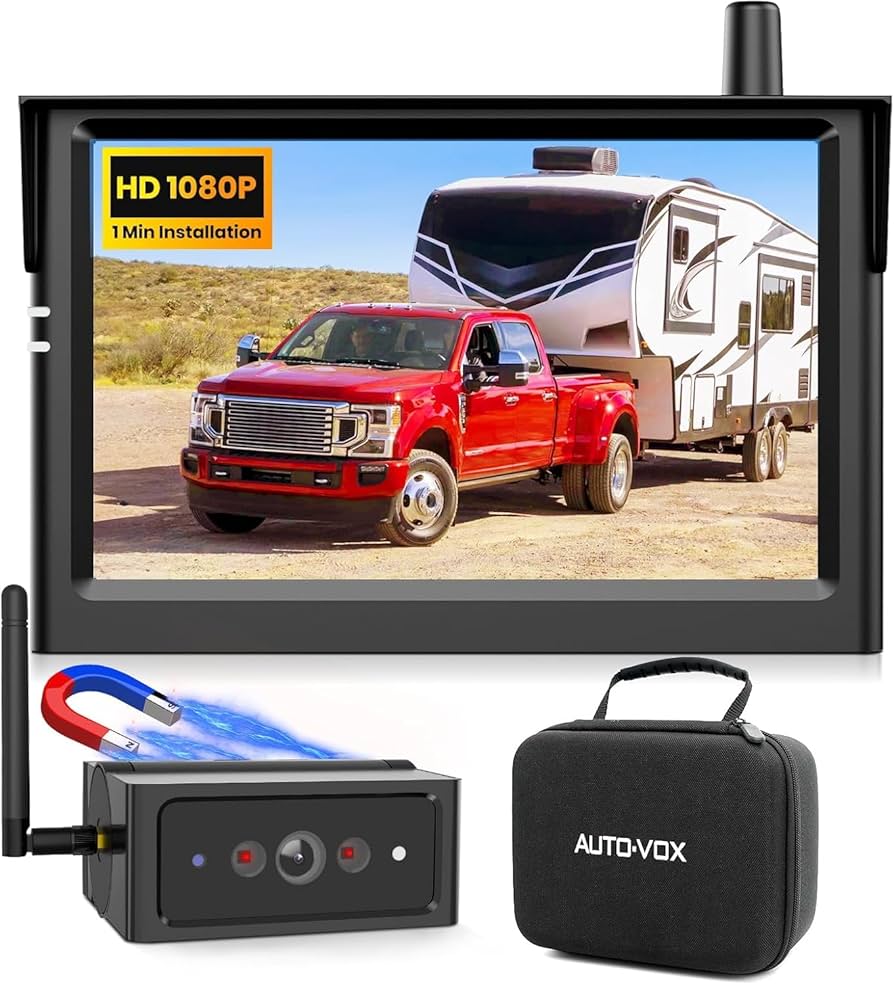
Credit: www.amazon.ca
Preparing Your Car For Installation
Preparing your car for a wireless backup camera installation ensures a smooth process. This step helps avoid mistakes and saves time. Knowing what tools and parts you need first makes the job easier. Proper preparation also guarantees the camera works well after installation. Focus on three main areas before starting the setup.
Gathering Necessary Tools
Collect all tools required for the installation. Common tools include:
- Phillips and flathead screwdrivers
- Wire strippers and cutters
- Electrical tape or heat shrink tubes
- Drill with bits for mounting holes
- Multimeter for checking electrical connections
- Zip ties for cable management
Having these ready saves time and prevents interruptions during installation.
Locating The Ideal Mounting Spot
Choose a spot with a clear view behind the car. Common locations include near the license plate or the rear bumper. The area should be flat and sturdy for mounting the camera. Avoid places blocked by car parts or dirt buildup. Measure space to ensure the camera fits well. Think about the camera angle for best visibility.
Checking Power Supply Options
Identify where to connect the camera’s power cable. Most wireless backup cameras draw power from the reverse light circuit. This powers the camera only when reversing. Use a multimeter to find the correct wire. Check the car battery and fuse box for other options if needed. Ensure wires are accessible and safe to tap into. Proper power connection ensures the camera turns on automatically.
Step-by-step Installation Process
Installing a wireless backup camera on your car is easier than it seems. Follow these clear steps to set up your system correctly. Each part of the process ensures the camera works well and gives you a clear view behind your vehicle. This guide helps you mount, power, pair, and test your camera smoothly.
Mounting The Camera
Choose a spot near the license plate or rear bumper for the camera. Clean the surface to remove dirt and dust. Use the included screws or adhesive to attach the camera securely. Make sure the lens points straight back for the best view. Avoid places that block the camera or get too dirty easily.
Connecting To Power
Find the reverse light wires under your car’s trunk or rear panel. Use a wire stripper to expose a small section of the reverse light wire. Connect the camera’s power wires to these reverse light wires using connectors or electrical tape. This connection powers the camera only when you shift to reverse. Secure all wires to prevent them from hanging or getting damaged.
Pairing With The Monitor
Turn on the monitor and the camera power. Look for the pairing button on the camera or monitor. Press the button to start the wireless connection process. Wait a few seconds for the monitor to display the camera’s view. If the image does not appear, reset the devices and try pairing again. Keep the monitor inside the car for a strong signal.
Testing And Adjusting The Camera
Shift your car into reverse to activate the camera. Check the monitor for a clear and steady image. Adjust the camera angle by loosening the mount screws and tilting the camera. Tighten the screws once the view covers the area behind your vehicle well. Test the camera in different lighting to ensure visibility at night and during the day.
Credit: luview.com

Credit: www.youtube.com
Frequently Asked Questions
What Tools Are Needed To Install A Wireless Backup Camera?
You need a screwdriver, wire strippers, electrical tape, and a drill. Some kits include additional tools. Always check the instructions before starting.
How Do I Power The Wireless Backup Camera?
Connect the camera’s power wires to your car’s reverse light wires. This powers the camera when you shift to reverse. Use a multimeter to find the correct wires safely.
Can I Install The Camera Without Professional Help?
Yes, most wireless backup cameras are DIY-friendly. Follow the instruction manual carefully. Basic tools and some patience are required for a successful installation.
How Do I Pair The Wireless Camera With The Monitor?
Turn on both devices and follow the pairing steps in the manual. Usually, it involves pressing a button on the camera or monitor. Ensure both are within range for a stable connection.
Conclusion
Installing a wireless backup camera on your car is simple and helpful. It improves safety by showing what is behind your vehicle. You save time by avoiding tricky wiring. Just follow the steps carefully, and test the camera before driving.
A clear view helps prevent accidents and parking mistakes. This small upgrade makes driving easier and safer every day. Give it a try, and enjoy better control on the road.


