
Are you struggling to remove your RV interior light covers without causing damage? You’re not alone.
Whether you want to clean, replace, or upgrade your RV lights, knowing the right way to take off those covers is key. You’ll discover simple, step-by-step tips that make the process quick and hassle-free. Keep reading to save time, avoid costly mistakes, and get your RV lighting looking just the way you want.
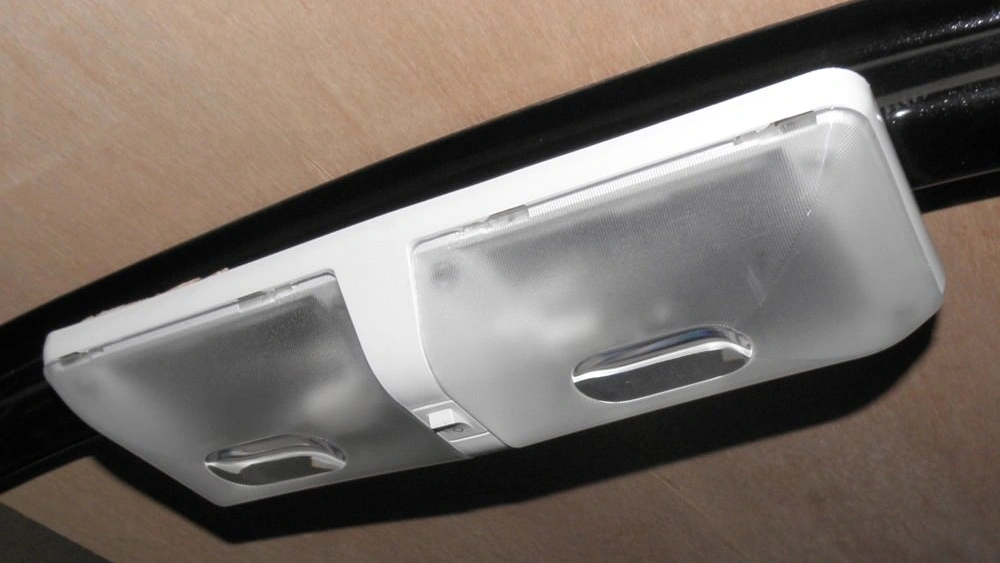
Credit: vanleighrvowners.com
Tools Needed
Removing RV interior light covers needs a few simple tools. These tools help you work safely and avoid damage. You can find most tools in a basic home toolkit.
Using the right tools makes the job faster. It also keeps the light covers and fixtures in good shape. Prepare these tools before starting to save time and effort.
Flathead Screwdriver
A flathead screwdriver helps to pry off light covers gently. Its thin, flat blade slides between the cover and the fixture. This tool reduces the risk of cracking the cover.
Phillips Screwdriver
Some light covers are held with screws. A Phillips screwdriver fits these screws perfectly. It provides a good grip to remove screws without stripping them.
Plastic Pry Tool
A plastic pry tool is softer than metal screwdrivers. It is ideal for delicate covers. This tool prevents scratches and other damage to the surfaces.
Clean Cloth
Use a clean cloth to protect the light cover and your hands. It also helps to wipe dust or dirt from the cover. A cloth can prevent slipping during removal.
Flashlight
A flashlight improves visibility inside dark RV areas. It helps to see screws and clips clearly. Good lighting makes the removal process safer and easier.

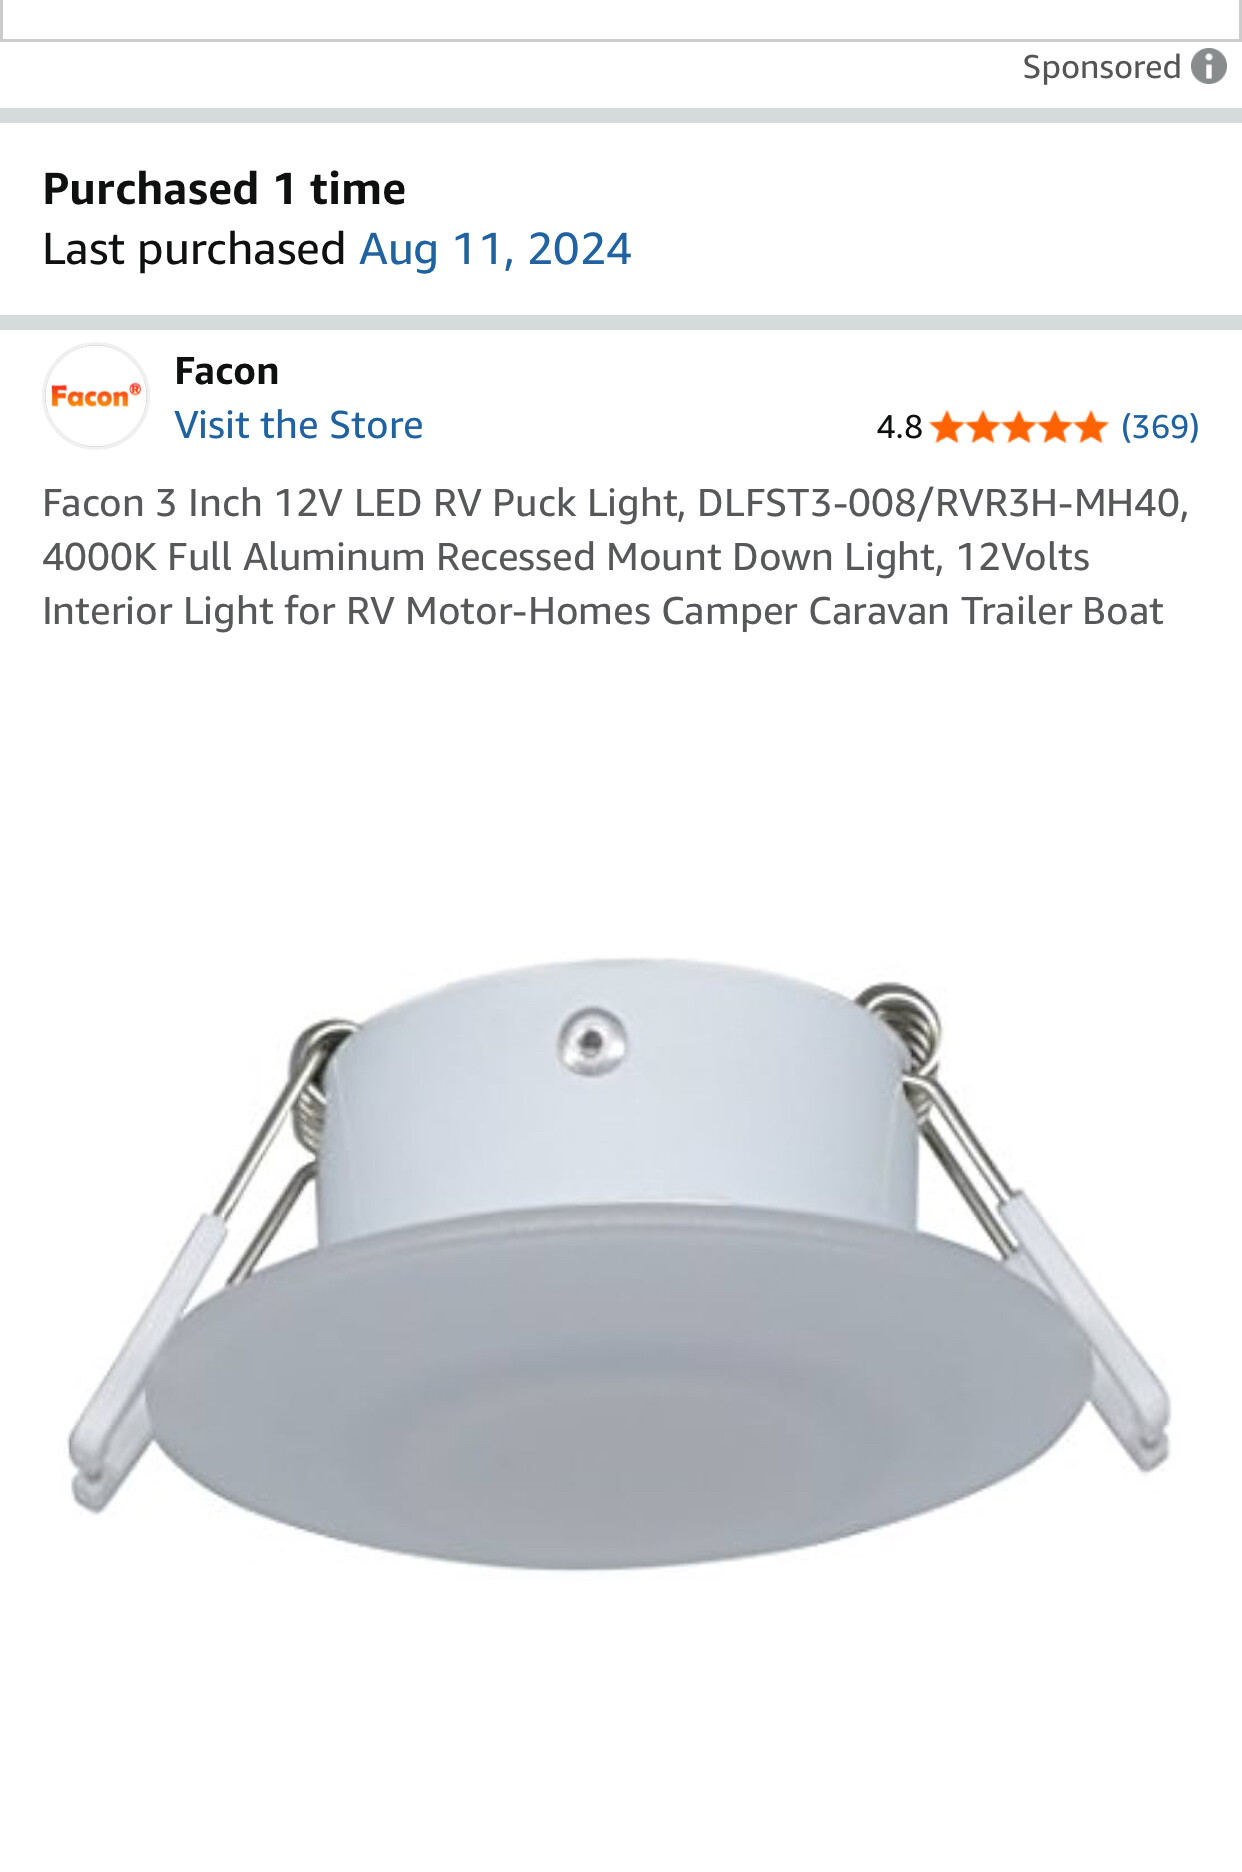
Credit: www.rvupgradestore.com
Removing Different Types Of Covers
Removing RV interior light covers involves different techniques. Each cover type fits differently and needs a unique approach. Understanding the cover type helps avoid damage during removal.
Some covers snap into place, while others use screws or slide on. Knowing the right way saves time and effort. The following sections explain how to handle each cover type safely.
Snap-on Covers
Snap-on covers hold firmly with plastic clips. Use your fingers or a flat tool to gently pry the edges. Start at one corner and carefully work around the cover.
Apply slow, steady pressure to avoid cracking the plastic. Once clips release, pull the cover straight off. Avoid forcing it to prevent damage.
Screw-on Covers
Screw-on covers attach with small screws, often around the edges. Use a screwdriver that matches the screw type, usually Phillips or flathead.
Remove all screws before attempting to take off the cover. Keep screws in a safe place for reinstallation. Gently lift the cover once screws are out.
Slide-on Covers
Slide-on covers fit into grooves or tracks on the light fixture. Locate the direction the cover slides—usually sideways or downward.
Hold the cover and slide it carefully out of the track. Avoid pulling straight out, which can break the cover or fixture. If stuck, check for clips or locks blocking movement.
Tips For Safe Removal
Removing RV interior light covers may seem simple, but doing it safely protects both you and your vehicle. Handling these delicate parts without care can lead to broken covers or electrical issues. Use these tips to keep the process smooth and damage-free.
Gather The Right Tools Before You Start
Having the proper tools ready makes a big difference. A flathead screwdriver, a soft cloth, and a step ladder are often all you need. Avoid using sharp or metal tools directly on the covers to prevent cracks or scratches.
Turn Off The Power To The Lights
Safety begins with cutting off the electricity. Switch off the RV’s interior lights or disconnect the battery to avoid electric shocks. This small step also prevents accidental short circuits while you work.
Apply Gentle Pressure And Avoid Forcing
Light covers are usually held in place by clips or small screws. Press gently around the edges or unscrew carefully, and never force a cover loose. If it doesn’t budge, check for hidden fasteners—you might miss a clip or screw.
Protect Your Hands And Surfaces
Wearing gloves can help you grip slippery covers better and protect your hands from sharp edges. Lay down a soft cloth or towel under the light to catch any dropped parts and avoid scratches. This preparation keeps your workspace tidy and safe.
Keep Track Of Small Parts
Once you remove screws or clips, place them in a small container. Losing these tiny parts can turn a simple task into a frustrating hunt. Staying organized saves time and prevents headaches later on.

Credit: www.forestriverforums.com
Frequently Asked Questions
How Do I Safely Remove Rv Interior Light Covers?
To safely remove RV light covers, first turn off the power. Use a flat tool or your fingers to gently pry the cover. Avoid applying too much force to prevent damage. Always check for clips or screws holding the cover in place.
What Tools Are Needed To Remove Rv Light Covers?
Most RV light covers can be removed with basic tools like a flathead screwdriver or a plastic pry tool. Sometimes, no tools are required if the cover snaps off by hand. Using the right tool helps avoid damaging the cover or surrounding fixture.
How Can I Clean Rv Interior Light Covers After Removal?
After removal, wash the light covers with mild soap and warm water. Use a soft cloth or sponge to avoid scratches. Rinse thoroughly and dry completely before reinstalling. This keeps your light covers clear and bright without damage.
Are All Rv Light Covers Removable Without Professional Help?
Most RV interior light covers are designed for easy removal by owners. However, some models might require professional help if screws or wiring are complex. Always refer to your RV manual for specific instructions before attempting removal.
Conclusion
Removing RV interior light covers is a simple task anyone can do. Start by turning off the power to stay safe. Use gentle pressure to avoid breaking the covers. Keep track of screws or clips for easy reassembly. Clean the covers before putting them back.
Regular care keeps your RV lights bright and working well. Now, you can easily change bulbs or clean inside. Small steps like these make your RV feel like home. Give it a try and enjoy better lighting on your travels.


