

Are you looking to upgrade your car’s headlights and give your vehicle a modern, stylish look? Installing LED light strips in your car headlights is a simple way to enhance both appearance and visibility on the road.
But where do you start? In this guide, you’ll discover easy-to-follow steps that anyone can use to install LED light strips quickly and safely. By the end, you’ll know exactly how to transform your headlights and make your car stand out—without spending a fortune or needing expert skills.
Let’s dive in and get your ride glowing!
Credit: www.jaginfo.org
Choosing The Right Led Strips
Choosing the right LED strips is crucial for a successful car headlight upgrade. It impacts not only the look of your vehicle but also safety and functionality. Let’s break down what you need to consider before making a purchase.
Types Of Led Strips
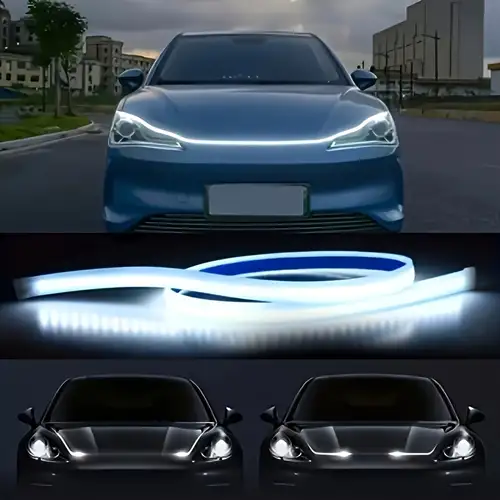
There are several types of LED strips available, each suited for different applications. Some strips come with a waterproof coating, perfect for exterior use like headlights. Others are flexible and easy to bend, ideal if your headlights have curves or tight spaces.
Think about whether you want single-color strips or ones that can change colors. RGB LED strips offer multiple colors but might be less bright than single-color white LEDs designed specifically for headlights. Your choice depends on whether you prioritize style or maximum visibility.
Brightness And Color Options
Brightness is measured in lumens, and for headlights, higher lumens mean better illumination. However, too bright can be distracting or even illegal in some areas. Aim for LED strips that provide clear, crisp light without overwhelming other drivers.
Color temperature affects the appearance and effectiveness of the light. Most drivers prefer cool white (around 6000K) for a modern look and better visibility at night. Warm white LEDs, while softer, may not light the road as well. What color temperature do you think will fit your driving style and environment?
Compatibility With Car Headlights
Not all LED strips fit every car model. Check your vehicle’s headlight design before buying LED strips. Some strips require a 12V power supply, while others may need adapters or additional wiring.
Measure the area inside your headlights to ensure the strips will fit without obstructing other components. Sometimes, using strips with adhesive backing makes installation easier, but double-check if the adhesive can handle heat and moisture from driving conditions. Have you measured your headlights yet?
Credit: www.amazon.ca
Preparing For Installation
Preparing your car for LED light strip installation sets the foundation for a smooth and lasting upgrade. Taking time to gather the right tools, clean the surfaces thoroughly, and prioritize safety can save you from common pitfalls. Have you ever started a project only to realize midway you forgot a crucial tool or missed a prep step? Avoid that frustration by organizing everything first.
Gathering Tools And Materials
Before you open the LED light strip package, make sure you have everything ready. Essential tools include:
- A clean microfiber cloth
- Isopropyl alcohol or suitable cleaner
- Adhesive promoter (if included or recommended)
- Wire cutters and strippers
- Electrical tape or heat shrink tubing
- A screwdriver set (for removing headlight covers if necessary)
- Multimeter to check connections
Having these items on hand prevents unnecessary trips and keeps you focused. You might think some small tools aren’t needed, but skipping them often leads to poor installation or damage.
Cleaning Headlight Surfaces
Cleaning isn’t just about making things look nice—it’s about ensuring the LED strips stick properly. Dust, grease, and residues can weaken the adhesive and cause the strips to peel off quickly.
Use a microfiber cloth with isopropyl alcohol to wipe the areas where you plan to attach the strips. Don’t rush this step; even a slight layer of dirt can reduce adhesion significantly. Have you noticed your LED strips falling off after a few weeks? This cleaning step is usually the culprit.
Safety Precautions
Working with your car’s electrical system requires caution. Disconnect the battery before starting to avoid any shorts or shocks. Wear gloves to protect your hands from sharp edges inside the headlight housing.
Keep your workspace well-lit and organized. It’s easy to lose small parts or accidentally damage wiring in a cluttered area. Asking yourself, “Am I working safely?” before each step helps prevent accidents and costly repairs.
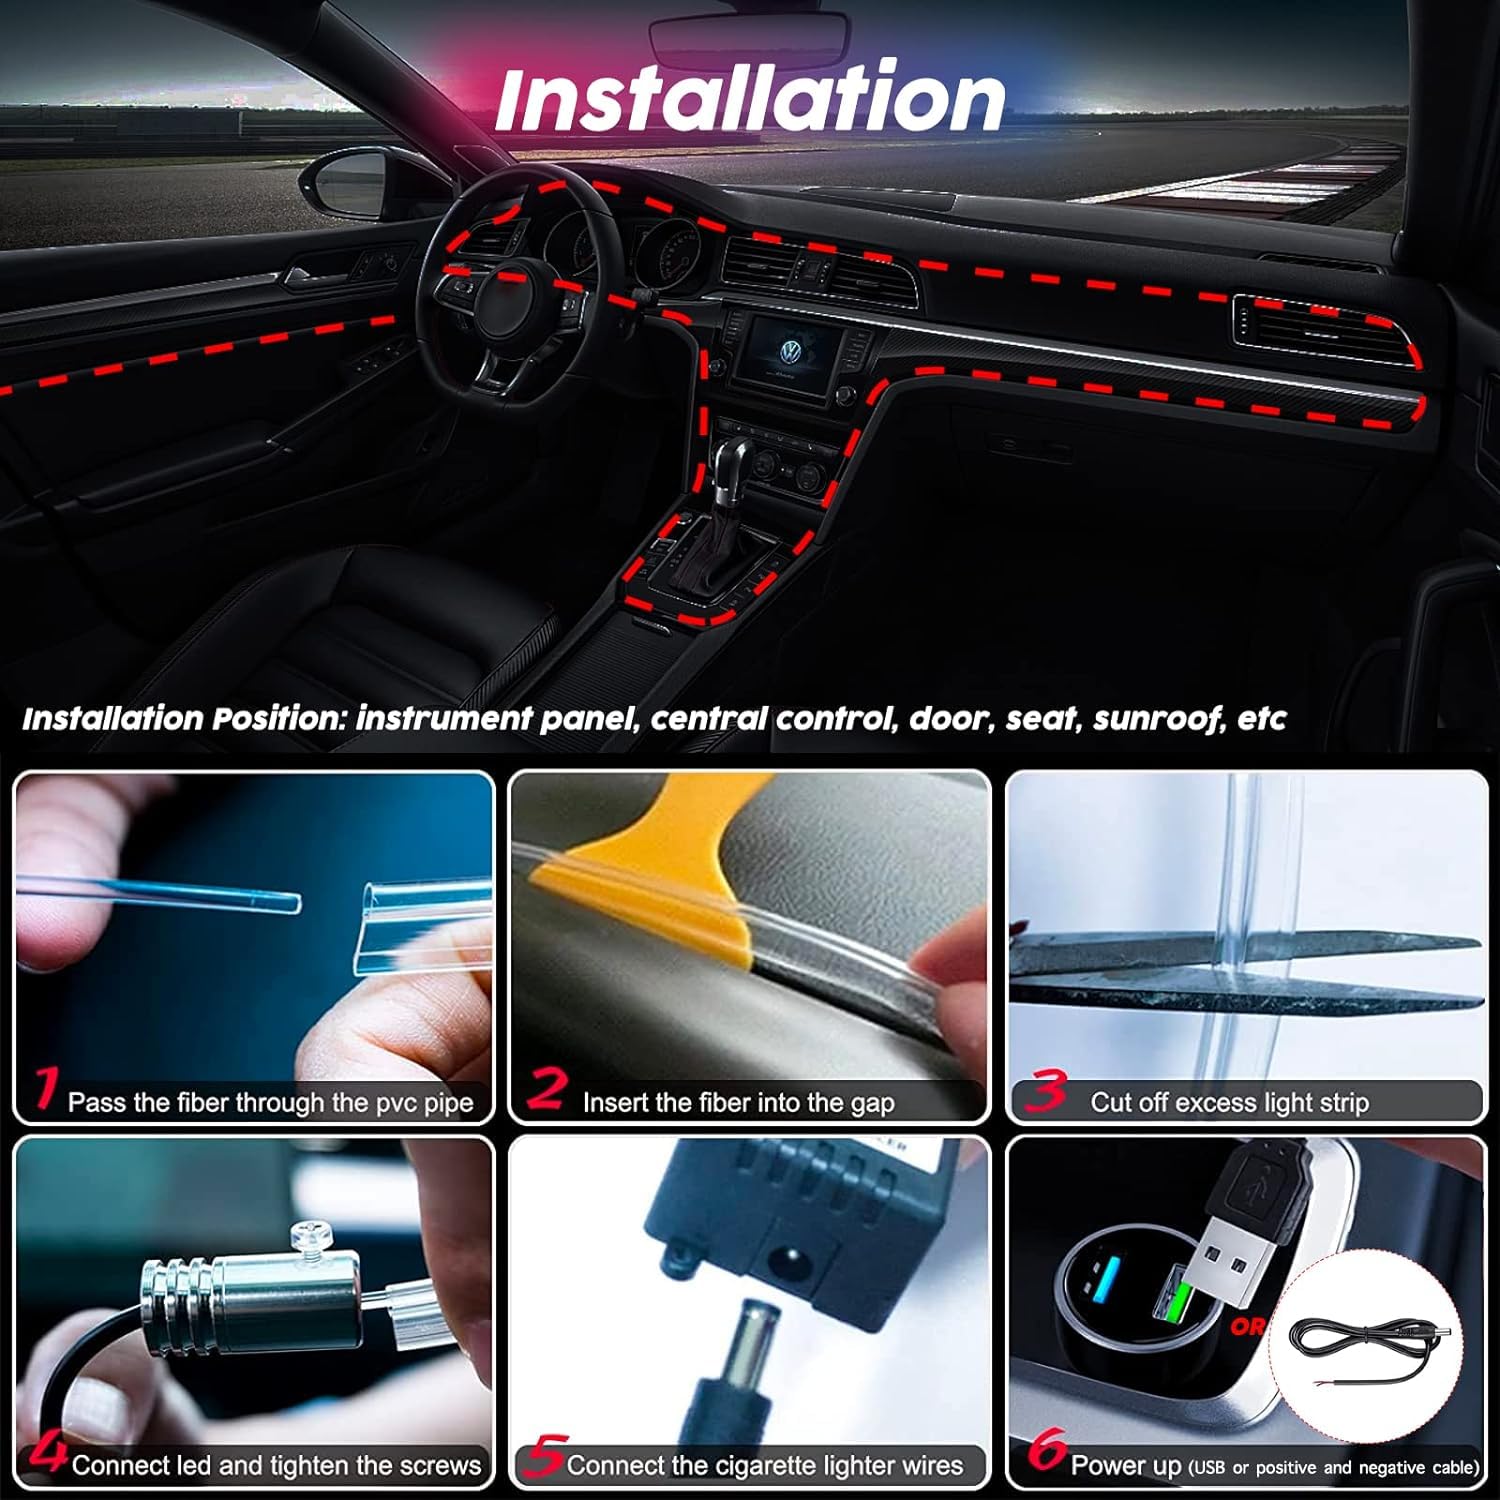
Step-by-step Installation
Installing LED light strips in your car headlights can instantly upgrade your vehicle’s look and improve visibility. The process might seem tricky at first, but breaking it down into clear steps makes it manageable. Let’s walk through the essential parts of the installation so you can get those lights shining bright.
Measuring And Cutting Led Strips
Start by measuring the area inside your headlight where you want to place the LED strips. Use a flexible tape measure to follow the curves and edges precisely. This ensures the strip fits snugly without bunching or leaving gaps.
Most LED strips have designated cutting points marked with small scissors icons or lines. Only cut at these points to avoid damaging the circuitry. If you cut incorrectly, the strip won’t light up properly or at all.
Wiring And Connecting To Power
Before you connect anything, locate your car’s power source—usually the headlight power wires or the fuse box. You want to tap into a wire that powers on with your headlights to sync the LEDs.
Strip a small section of the wire insulation, then use wire connectors or soldering to attach the LED strip wires securely. Don’t forget to connect the ground wire to your car’s chassis or negative battery terminal for safety.
Wondering how to keep your wiring tidy? Use electrical tape or heat shrink tubing to cover exposed connections and prevent shorts or corrosion.
Securing Led Strips In Place
Many LED strips come with adhesive backing—peel off the protective layer and press the strip firmly where you measured. If your surface is dusty or oily, clean it first with rubbing alcohol to improve adhesion.
For extra security, especially on curved or rough surfaces, use small mounting clips or zip ties. This prevents the strip from peeling off over time due to vibrations or weather conditions.
Testing The Lights
Once everything is connected and secured, test your LEDs before sealing the headlights. Turn on your car’s headlights and check if the strips light up evenly and brightly.
Look closely for flickering or dim spots—these could mean loose connections or damaged sections. Fix any issues now to avoid reopening the headlight later.
Are you ready to give your car a personalized touch with LED strips? Taking these careful steps can make installation smooth and satisfying.
Credit: www.temu.com
Frequently Asked Questions
How Do I Prepare My Car Headlights For Led Strips?
Clean the headlight surface thoroughly with alcohol wipes. Remove any dust, grease, or moisture to ensure strong adhesive bonding. Proper preparation prevents peeling and ensures a secure installation of LED light strips.
What Tools Are Needed To Install Led Light Strips?
You will need LED strips, a power source, a soldering kit or connectors, electrical tape, and cleaning materials. A screwdriver and wire cutters may also be necessary. These tools help ensure a safe and professional installation.
Can Led Strips Damage My Car’s Electrical System?
When installed correctly, LED strips do not harm your car’s electrical system. Use appropriate fuses and connect to a suitable power source. Always follow manufacturer instructions to avoid electrical issues or shorts.
How Do I Connect Led Strips To My Car Battery?
Connect the LED strip’s positive wire to the battery’s positive terminal and the negative wire to the ground. Use a fuse for protection and secure all connections tightly to prevent short circuits or loose wiring.
Conclusion
Installing LED light strips in car headlights is simple with the right steps. Take your time and follow each part carefully. Use safe tools and check connections twice. Bright, clear lights can improve your driving experience. Enjoy the new look and better visibility on the road.
Keep your car lights clean for longer life. Try this easy upgrade to make your car stand out. You can do it yourself and save money. Happy driving with your fresh LED lights!


