

Want your car to look shiny and brand new without spending a fortune at a detailing shop? Using a car polisher can give your vehicle that professional, glossy finish right at home.
But if you’ve never used one before, it might seem tricky or even risky. Don’t worry—this guide will walk you through simple, step-by-step instructions so you can confidently polish your car like a pro. Keep reading, and soon you’ll see your car’s paint sparkle in a way that turns heads everywhere you go.
Credit: www.drbeasleys.com
Choosing The Right Polisher
Choosing the right car polisher is key to achieving a smooth, shiny finish. The right tool makes polishing easier and protects your car’s paint. Each polisher type serves different needs and skill levels. Understanding these options helps pick the best fit for your project.
Types Of Car Polishers
- Rotary Polishers:Powerful and fast. Best for experienced users. Can remove deep scratches but may damage paint if used wrong.
- Dual Action Polishers:Safer for beginners. Moves in two directions to prevent swirl marks. Ideal for regular polishing and minor imperfections.
- Random Orbital Polishers:Combines speed and safety. Great for all skill levels. Works well on most paint types.
Selecting Suitable Pads
Pads affect how the polish works on your car’s surface. Choose the right pad to match your polishing needs.
- Foam Pads:Soft and gentle. Perfect for light polishing and finishing.
- Wool Pads:More abrasive. Good for cutting through heavy oxidation and scratches.
- Microfiber Pads:Balanced for cutting and finishing. Suitable for many polishing tasks.
Choosing The Right Polish
Polish type depends on the condition of your car’s paint and desired results.
- Cutting Polishes:Remove scratches and oxidation. Use with aggressive pads.
- Finishing Polishes:Enhance shine and remove light swirls. Use with soft pads.
- Glazes:Add gloss but do not remove defects. Good for enhancing appearance before wax.
Preparing Your Car
Preparing your car properly is the key to getting the best results with a car polisher. Skipping this step can lead to scratches, uneven polishing, or even damage to your paint. Taking the time to clean, remove contaminants, and protect sensitive areas sets a solid foundation for a smooth, shiny finish.
Cleaning And Washing
Start with a thorough wash to remove dirt, dust, and grime. Use a car-specific shampoo and a soft sponge or mitt to avoid scratching the surface. Rinse well and dry your car completely to prevent water spots from forming during polishing.
Have you noticed how even a tiny bit of dust can create swirl marks when polishing? That’s why a spotless start matters.
Removing Surface Contaminants
After washing, check for surface contaminants like tar, tree sap, or iron particles. These can’t be removed by washing alone and will interfere with polishing. Use a clay bar or a specialized cleaner to gently lift these contaminants off the paint.
This step makes a huge difference—you’ll feel your paint go from rough to silky smooth. It’s a simple trick that protects your car’s finish and enhances the polisher’s effectiveness.
Taping Off Sensitive Areas
Protect trim, rubber seals, and edges by applying painter’s tape to these areas. This prevents accidental polish buildup or damage during the process. Take your time here; a few extra minutes can save you from frustrating touch-ups later.
Have you ever polished only to realize the polish stained your rubber trim? Taping is your shield against these small but annoying mishaps.
Polishing Techniques
Mastering polishing techniques is key to achieving a flawless, showroom shine on your car. The right approach not only enhances your vehicle’s appearance but also protects its paintwork from damage. Let’s break down essential tips you can apply immediately to get the best results with your car polisher.
Proper Polisher Speed Settings
Choosing the correct speed setting on your polisher makes a huge difference. Too fast, and you risk burning the paint; too slow, and the polish won’t spread evenly. Start with a low speed for applying polish and increase it slightly to work the polish into the surface.
Different polishes and pads require different speeds. For example, a heavy-cut compound usually needs a slower speed to avoid swirl marks, while a finishing polish can be used at a higher speed for a glossy shine. Experiment on a small hidden area first to find the sweet spot for your specific setup.
Applying Polish Evenly
Even application ensures consistent results and prevents patchy spots. Use small, circular motions to spread the polish across the surface, keeping your buffer moving at all times. If you hold the polisher in one spot too long, you risk uneven removal of the clear coat.
Work in sections about 2 feet by 2 feet to maintain control. Add polish sparingly — a few pea-sized drops on the pad are usually enough. If you see dry spots forming, stop and add a bit more polish to keep everything slick.
Using Correct Pressure And Motion
Applying the right amount of pressure is often overlooked but crucial. Pressing too hard won’t make the polish work better; it can cause damage or swirl marks. Instead, let the polisher’s weight do most of the work, applying just enough pressure to maintain good contact.
Keep the polisher moving steadily in overlapping passes, avoiding random back-and-forth motions. Try maintaining a consistent speed and pressure while guiding the tool in slow, overlapping circles or straight lines. This approach gives your paint an even, mirror-like finish without burns or haze.
Credit: www.youtube.com
Finishing Touches
Finishing touches are what turn a good polish job into a great one. After using your car polisher, these final steps help you achieve a deep, lasting shine that turns heads. Paying attention to detail here ensures your hard work really shows.
Buffing For Maximum Shine
Buffing is essential to bring out the highest gloss from your polished surface. Use a clean, soft microfiber cloth to gently buff the area in circular motions. Avoid pressing too hard; let the cloth do the work to prevent swirl marks.
Try buffing in sections to ensure even coverage. You might notice the shine deepen with each pass—this is your sign to keep going. Have you noticed how a simple buff can make your car look almost new again?
Inspecting For Imperfections
After buffing, inspect your car under good lighting. Look for any remaining scratches, haze, or uneven spots that might need a touch-up. Use a bright LED flashlight at different angles to catch areas you might miss in daylight.
If you spot imperfections, don’t rush to repolish the entire surface. Focus on those spots with a small amount of polish and a soft applicator pad. This targeted approach saves time and product while improving your results.
Maintaining The Polished Surface
Your polished finish deserves care to stay glossy longer. Wash your car regularly using a pH-balanced shampoo to avoid stripping the polish. After washing, dry with a clean microfiber towel to prevent water spots.
Consider applying a quality wax or sealant every few months. This adds a protective layer that keeps dirt and contaminants from dulling your shine. What maintenance routine have you found works best to keep your car looking fresh?
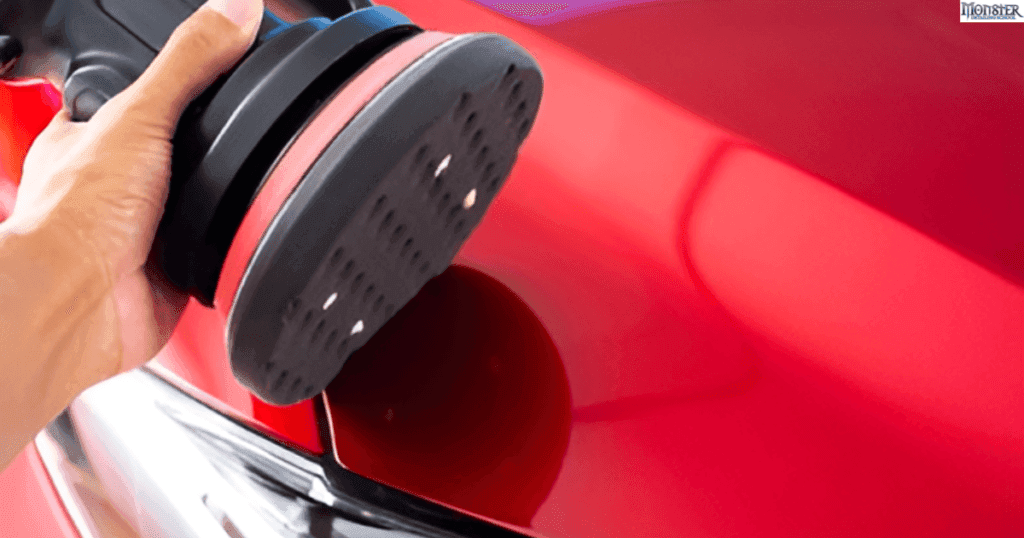
Credit: monsterdetailing.com
Frequently Asked Questions
What Is The Best Way To Use A Car Polisher?
Use a clean, soft pad and apply polish evenly. Work in small sections with slow, circular motions. Avoid pressing too hard to prevent paint damage. Finish by wiping off residue with a microfiber cloth for a smooth, shiny surface.
How Often Should I Polish My Car?
Polish your car every 3 to 6 months. This frequency maintains paint protection and shine without over-polishing. Adjust based on your car’s exposure to sun, dirt, and weather conditions for best results.
Can A Car Polisher Remove Scratches?
Yes, a car polisher can remove light scratches and swirl marks. Use the correct polish and pad for your car’s paint type. Deep scratches may require professional repair or touch-up paint.
Is It Safe To Use A Car Polisher On All Paint Types?
Most modern car polishers are safe for clear coats and standard paint finishes. Always test a small, inconspicuous area first. Use appropriate polish products designed for your specific paint type to avoid damage.
Conclusion
Using a car polisher can make your vehicle look shiny and clean. Take your time and use gentle, steady movements. Always choose the right polish and pad for your car’s paint. Clean the surface before polishing to get the best results.
Remember to work in small sections for even coverage. With practice, polishing becomes easier and more effective. Your car will look fresher and better protected. Keep your polisher clean after use for long life. Enjoy the smooth, glossy finish you create yourself.


