
If your turn signal light bulb has stopped working, you don’t have to wait for a mechanic to fix it. You can save time and money by changing it yourself.
But first, you need to know the right way to remove the old bulb without causing damage. In this guide, you’ll learn simple, clear steps to safely take out the turn signal light bulb from your car. Keep reading, and you’ll feel confident handling this task on your own.

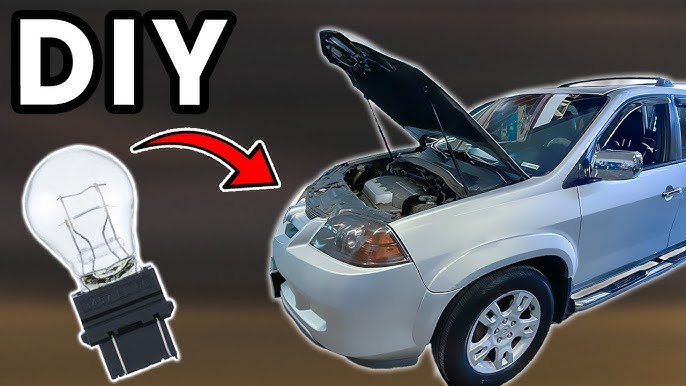
Credit: www.youtube.com
Tools Needed
Removing a turn signal light bulb might seem tricky at first, but having the right tools makes the job straightforward and stress-free. Using proper tools not only speeds up the process but also helps avoid damage to your car’s light assembly. Before you start, gather these essentials to ensure a smooth experience.
Basic Tools For Bulb Removal
- Screwdrivers:A flathead and a Phillips screwdriver are often needed to remove screws holding the light cover or housing in place.
- Socket Wrench Set:Some cars require a socket wrench to loosen bolts securing the signal light assembly.
- Gloves:Wearing gloves protects your hands and prevents oils from your skin from damaging the new bulb.
Specialized Tools That Can Help
- Plastic Pry Tools:These help you gently pop off lens covers without scratching or breaking plastic parts.
- Multimeter:Useful if you want to test the bulb or wiring before replacing anything.
Why Using The Right Tools Matters
Have you ever struggled with a bulb that just wouldn’t budge? Using a wrong or makeshift tool can strip screws or crack the housing, turning a simple fix into an expensive repair. Investing a few minutes to find the correct tools can save you time and money.
Think about your last DIY car repair—did having the right tools make it easier? This small preparation step sets the tone for a hassle-free bulb replacement.
Locate The Turn Signal Assembly
Locating the turn signal assembly is the first key step to removing the bulb efficiently. Knowing exactly where it sits on your car saves time and prevents unnecessary fumbling under the hood or around the headlight. This part is usually easy to find once you understand its typical placement and how it connects to your vehicle’s lighting system.
Check The Front Or Rear Corners Of Your Vehicle
Turn signals are commonly placed at the front and rear corners of your car. At the front, they often share space with the headlight or parking light assembly. At the back, look near the tail lights, sometimes integrated into the same housing.
Have you noticed how some cars have separate signal lights while others combine them? Spotting this difference helps you know exactly where to look.
Open The Hood Or Trunk To Access The Assembly
Once you know the general location, open the hood for front signals or the trunk for rear ones. This access lets you reach the back of the light assembly where the bulbs are housed. You’ll usually find a plastic cover or panel securing the assembly in place.
Don’t rush here—take a moment to identify clips, screws, or twist locks that hold the cover. This saves frustration when you start removing the bulb.
Use Your Vehicle’s Owner Manual For Exact Locations
Your car’s owner manual is a goldmine for pinpointing the turn signal assembly. It includes diagrams and step-by-step instructions tailored to your model. This makes locating the assembly straightforward, even if the design isn’t obvious at first glance.
If you don’t have a physical copy, many manuals are available online in PDF format. Have you tried this resource before? It often clears up confusion instantly.
Identify The Bulb Socket Within The Assembly
After locating the turn signal assembly, focus on finding the bulb socket. It usually looks like a small, round holder that you can twist or pull out. This socket is where the bulb sits and where you will be working next.
Getting familiar with the socket’s shape and locking mechanism prevents damage during bulb removal. Have you ever struggled with a stuck bulb socket? Knowing this step helps avoid that hassle.
Remove And Replace The Bulb
Removing and replacing a turn signal light bulb is simple with the right approach. This task ensures your car stays safe and visible on the road. Follow clear steps to take out the old bulb and install a new one quickly.
Access The Turn Signal Bulb
Open the hood or trunk depending on the car’s design. Locate the back of the turn signal light assembly. Remove any covers or screws blocking access to the bulb socket. Handle parts gently to avoid damage.
Remove The Old Bulb
Grip the bulb socket and twist it counterclockwise. Pull the socket out carefully. Gently pull the bulb straight from the socket. Avoid touching the glass part of the new bulb with bare hands to prevent oil spots.
Install The New Bulb
Insert the new bulb into the socket firmly. Align it properly to fit without force. Push the socket back into the light assembly. Twist clockwise until it locks in place securely.
Test The New Turn Signal Bulb
Turn on your car’s ignition. Activate the turn signal to check the new bulb. Make sure it lights up clearly and blinks at a steady pace. If it doesn’t work, recheck the bulb installation.
Reassemble The Light Assembly
Replace any covers or screws removed earlier. Tighten them carefully to avoid stripping. Close the hood or trunk securely. Your turn signal is now ready for safe driving.

Credit: www.youtube.com
Credit: www.slkworld.com
Frequently Asked Questions
How Do I Safely Remove A Turn Signal Bulb?
First, disconnect the car battery to avoid shocks. Then, access the bulb housing by removing the cover. Gently twist and pull out the bulb without forcing it. Handle the bulb base carefully to prevent damage.
What Tools Are Needed To Remove Turn Signal Bulbs?
Typically, you only need a flathead screwdriver or your hands. Some cars require a Phillips screwdriver to remove the housing cover. Always check your car manual for specific tool requirements before starting.
How Can I Identify A Faulty Turn Signal Bulb?
A faulty bulb usually won’t light up or will flicker. Check for dark or broken filaments inside the bulb. If the bulb looks damaged or doesn’t work after installation, it’s likely faulty and needs replacement.
Is It Necessary To Disconnect The Car Battery First?
Yes, disconnecting the battery prevents electrical shock and short circuits. It also protects the car’s electrical system during bulb replacement. Always ensure safety by disconnecting the negative terminal before starting work.
Conclusion
Removing a turn signal light bulb is simple and quick. First, open the car’s light cover carefully. Then, twist and pull the old bulb out gently. Avoid touching the new bulb with bare hands. Insert the new bulb firmly in place.
Test the turn signal before closing the cover. Doing this saves money and keeps your car safe. Routine checks help spot problems early. Now, you can change your turn signal bulb with confidence. No need to wait for a mechanic.
Stay safe and keep your lights working well.


